#LIFEONAIR: Ryan Stewart’s Alpina B10 on 3H – PT 2
1/25/2017

During our first update, Ryan got all the major components installed, so now he can move on to the setup of his Air Lift Performance 3H system.
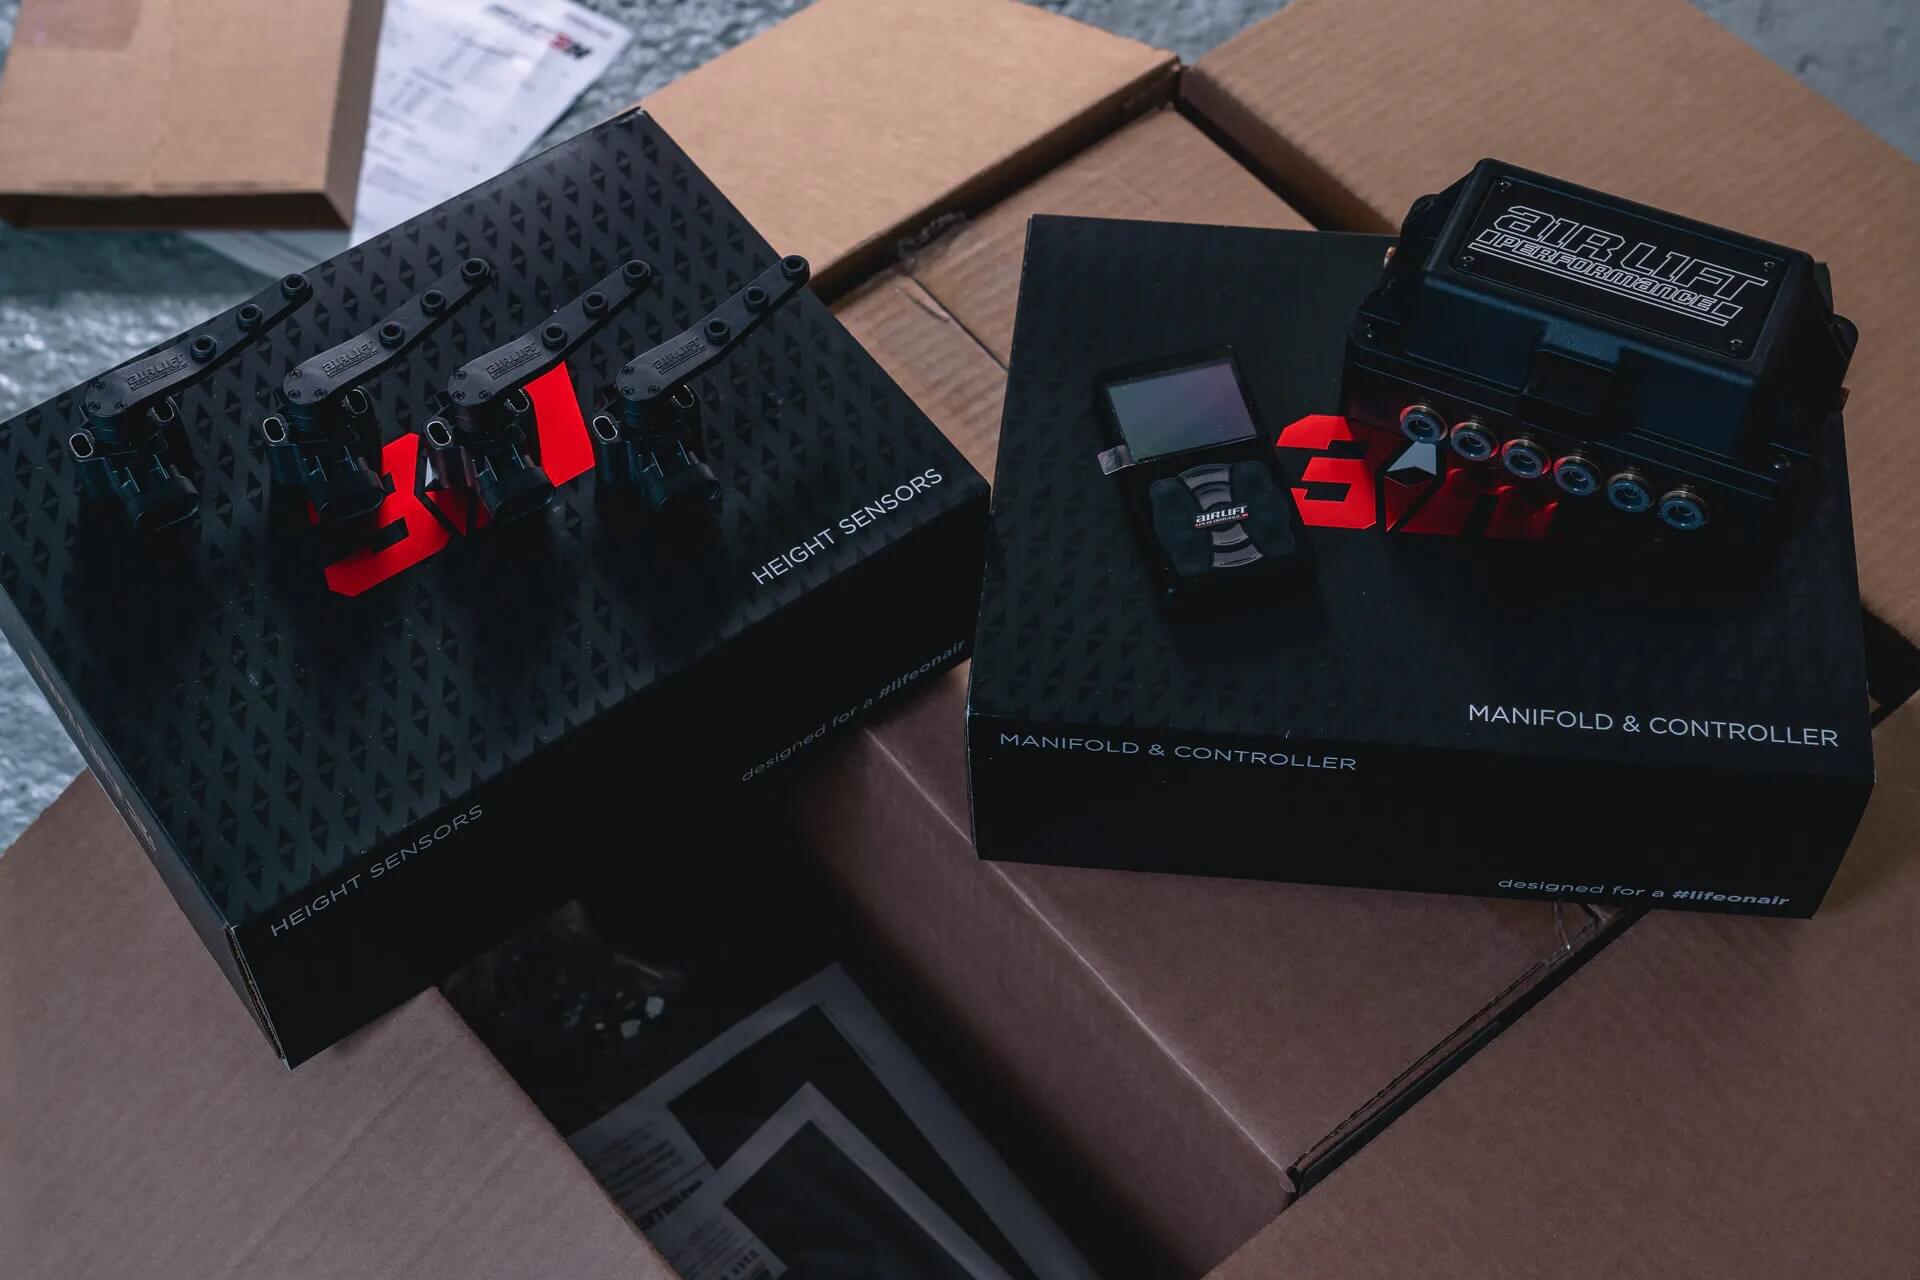
Air Lift Performance 3H uses both a pressure-monitoring manifold and individual height sensors mounted at each corner. The manifold ECU processes these eight digital inputs in order to maintain a precise rise and drop, as well as your preset drive height. This provides fantastic ride quality and allows single-movement changes in ride height, which is particularly important if you wish to change ride height on the move.

In order to mount the Air Lift Performance 3H height sensors in a suitable position, Ryan tested the sweep of the suspension from minimum to maximum. The installation guide comes with both a template for the sensor mounting backplate and also a template showing the permissible sweep of the sensor arm.
Ryan was able to install the front height sensors directly to the lower control arms, giving them a direct relationship to the ride height. In the rear, the factory BMW SLS (self-leveling suspension) mounting points were adapted for the Air Lift Performance 3H level sensors.

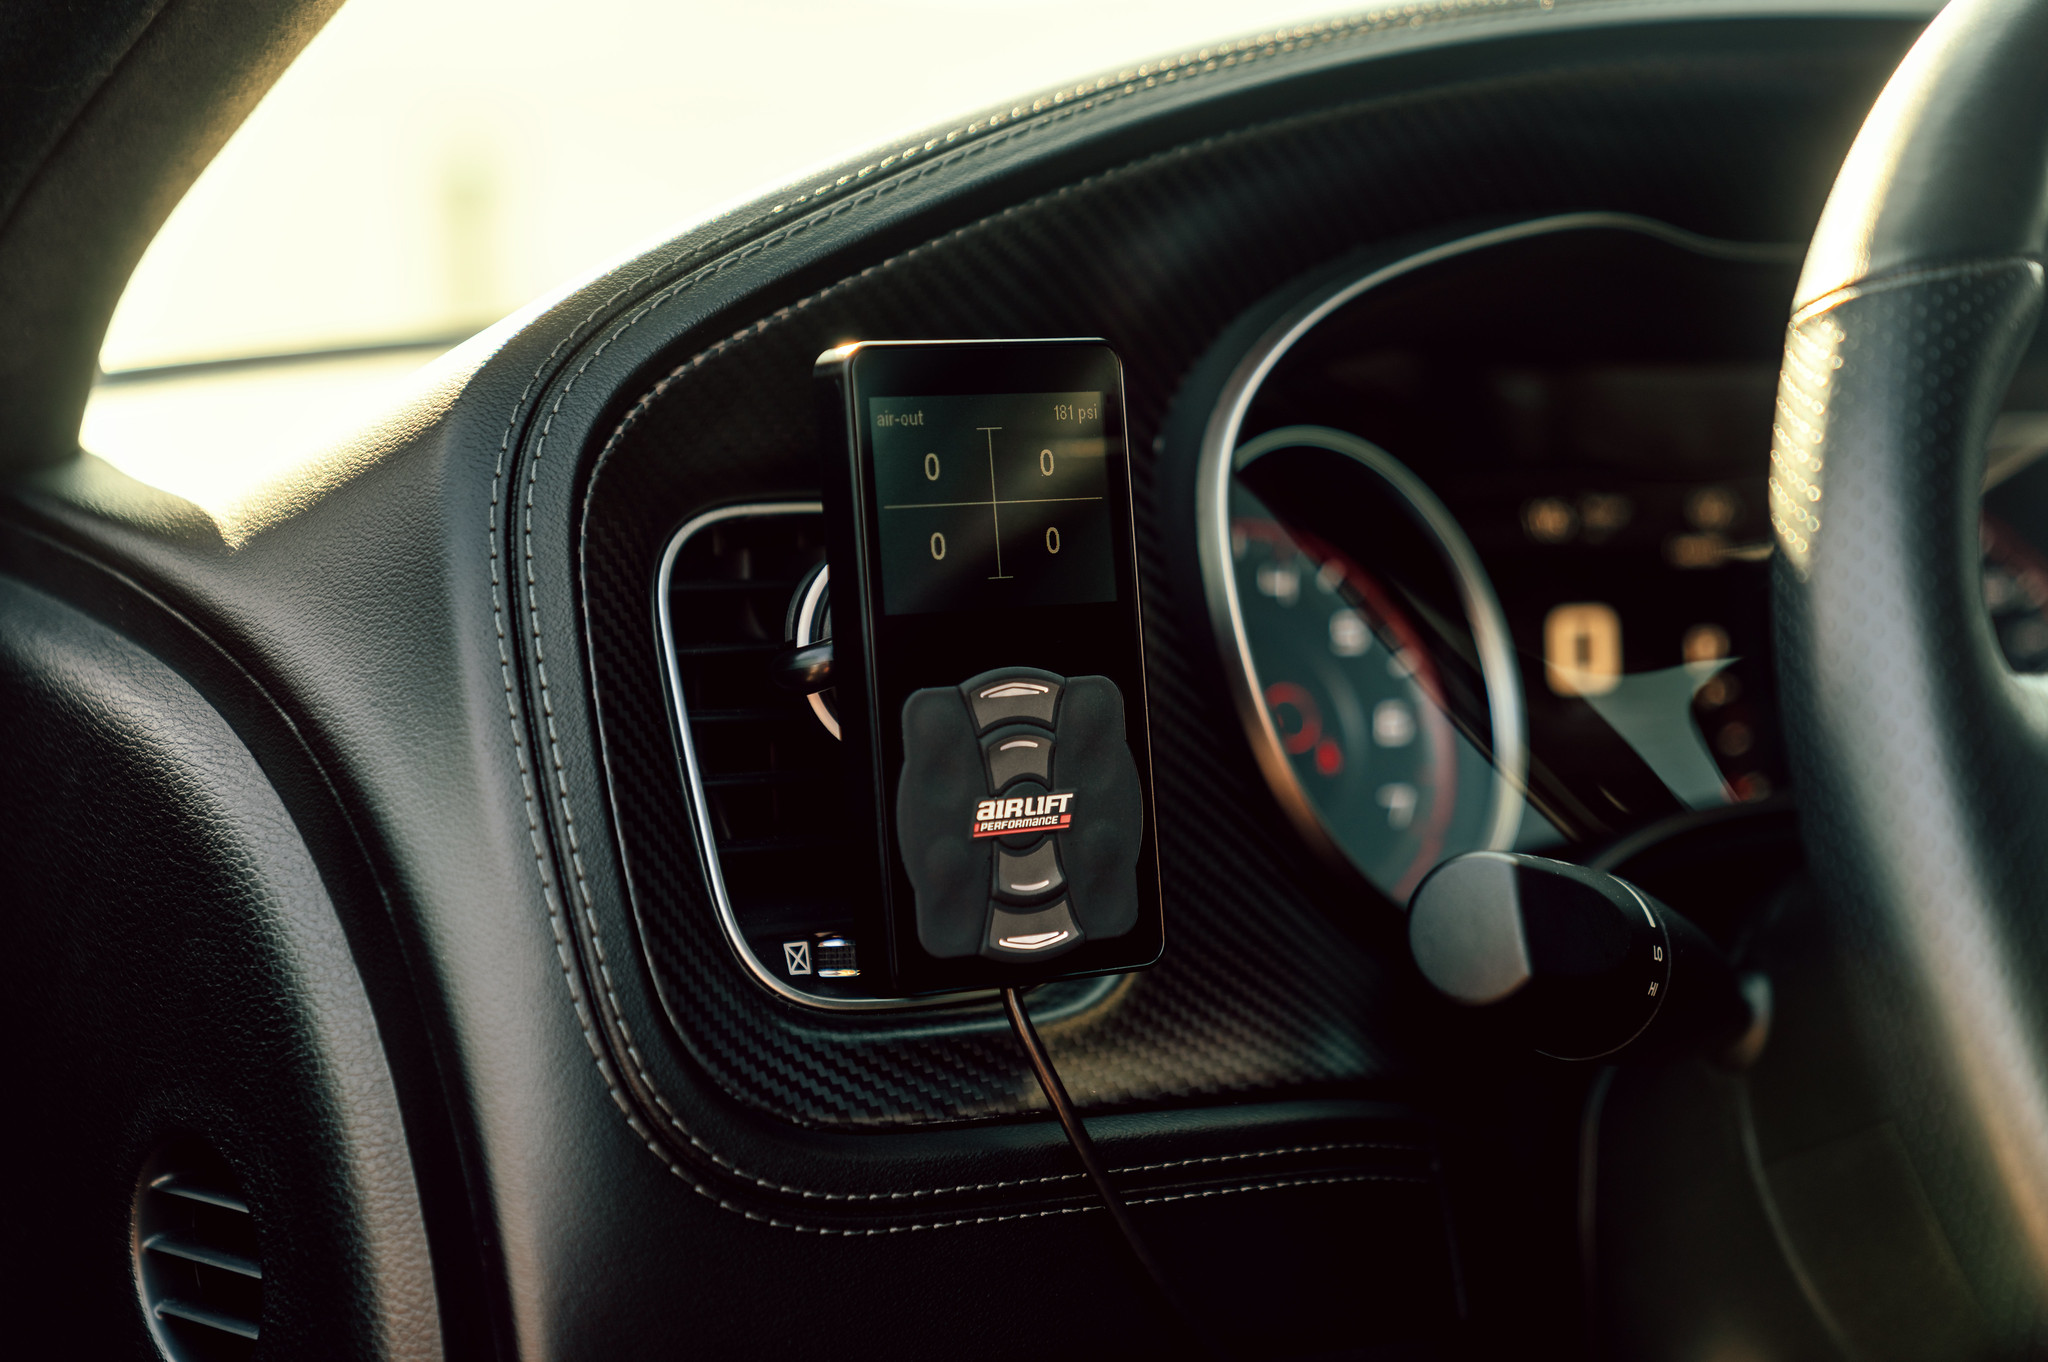
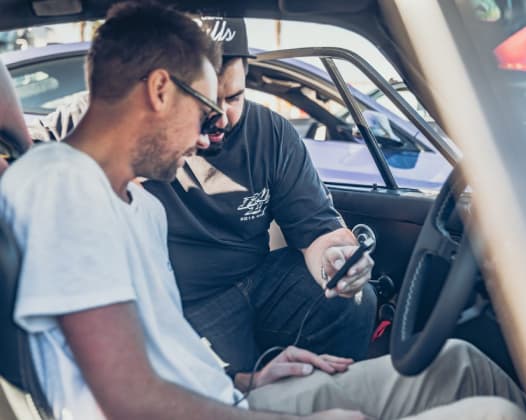
Once installed, Ryan utilized the integrated sensor tool to make sure that his sensors were all within range. The sensor tool is built into the Air Lift Performance 3H controller and is a quick reference before calibrating the system.

After checking, Ryan could see that the front left level sensor was positioned slightly differently to the front right. Although his sensors were within range, Ryan decided to turn the around by a few degrees in order for the sensors to match perfectly from side to side.

Once happy with the position of the sensors and the length of the sensor rods, Ryan was able to use the auto-calibration feature of the Air Lift Performance 3H controller to calibrate the system. Calibration is done through a simple choice-based menu, where you can choose from either a height or pressure calibration, with one or two compressors, and the controller will calibrate the system automatically.
For those who wish to set their own upper and lower limits, it is possible to calibrate the system manually. This is perfect for people who have wheels that interact with the fenders because it allows them to precisely set a full drop height that will protect the bodywork and wheel lips.

At full drop, the B10 looks fantastic. With just a tiny bit of forward rake, the height suits the big Bavarian wagon perfectly. Ryan chose to fully air the car out for maximum impact.
Under the factory boot floor, the install has an all black, super utilitarian look. Ryan laid out the components for easy access and compactness. We think it looks great and shows that, with careful planning, you can fit twin compressors, twin tanks and ancillaries in a small space. An added bonus is that Ryan has been able to isolate the noise of the compressors from the occupants with sound deadening, Air Lift Performance compressor isolator kits and the factory boot floor. The result is a near OE sound level with a very sophisticated feel to the car.

To up the sophistication factor, Ryan stowed the Air Lift Performance 3H controller in the center console for easy access if necessary. The car is programmed to rise-on-start to his preset ride height and can be driven right away without interacting with the controller. To make adjustments while driving Ryan utilizes the Bluetooth capabilities of the Air Lift Performance 3H manifold and connects wirelessly with his iPhone.

More Recent Articles
Get The Latest from Air Lift Performance
Want first access to big sale events, performance suspension news, and exclusive drops that sell out quickly?
