#LIFEONAIR: Ryan Stewart's Alpina B10 on 3H - PT 1
1/9/2017

It’s not very often you see an Alpina B10, let alone one that has been modified.
BMW works very closely with Alpina, all the way down to the sharing production lines, but Alpina’s vehicles stand completely separate from the BMW. This B10 is based on the BMW E39 platform and is number 58 of 472 UK Alpina B10s, with only a 19 of these being 3.3 engine models, and even less being this exclusive, face-lifted style.
Ryan Stewart (IG: @7th.seal) is going the whole-hog with this project and is on course for creating a completely unique vehicle by fitting his B10 with Air Lift Performance 3H.

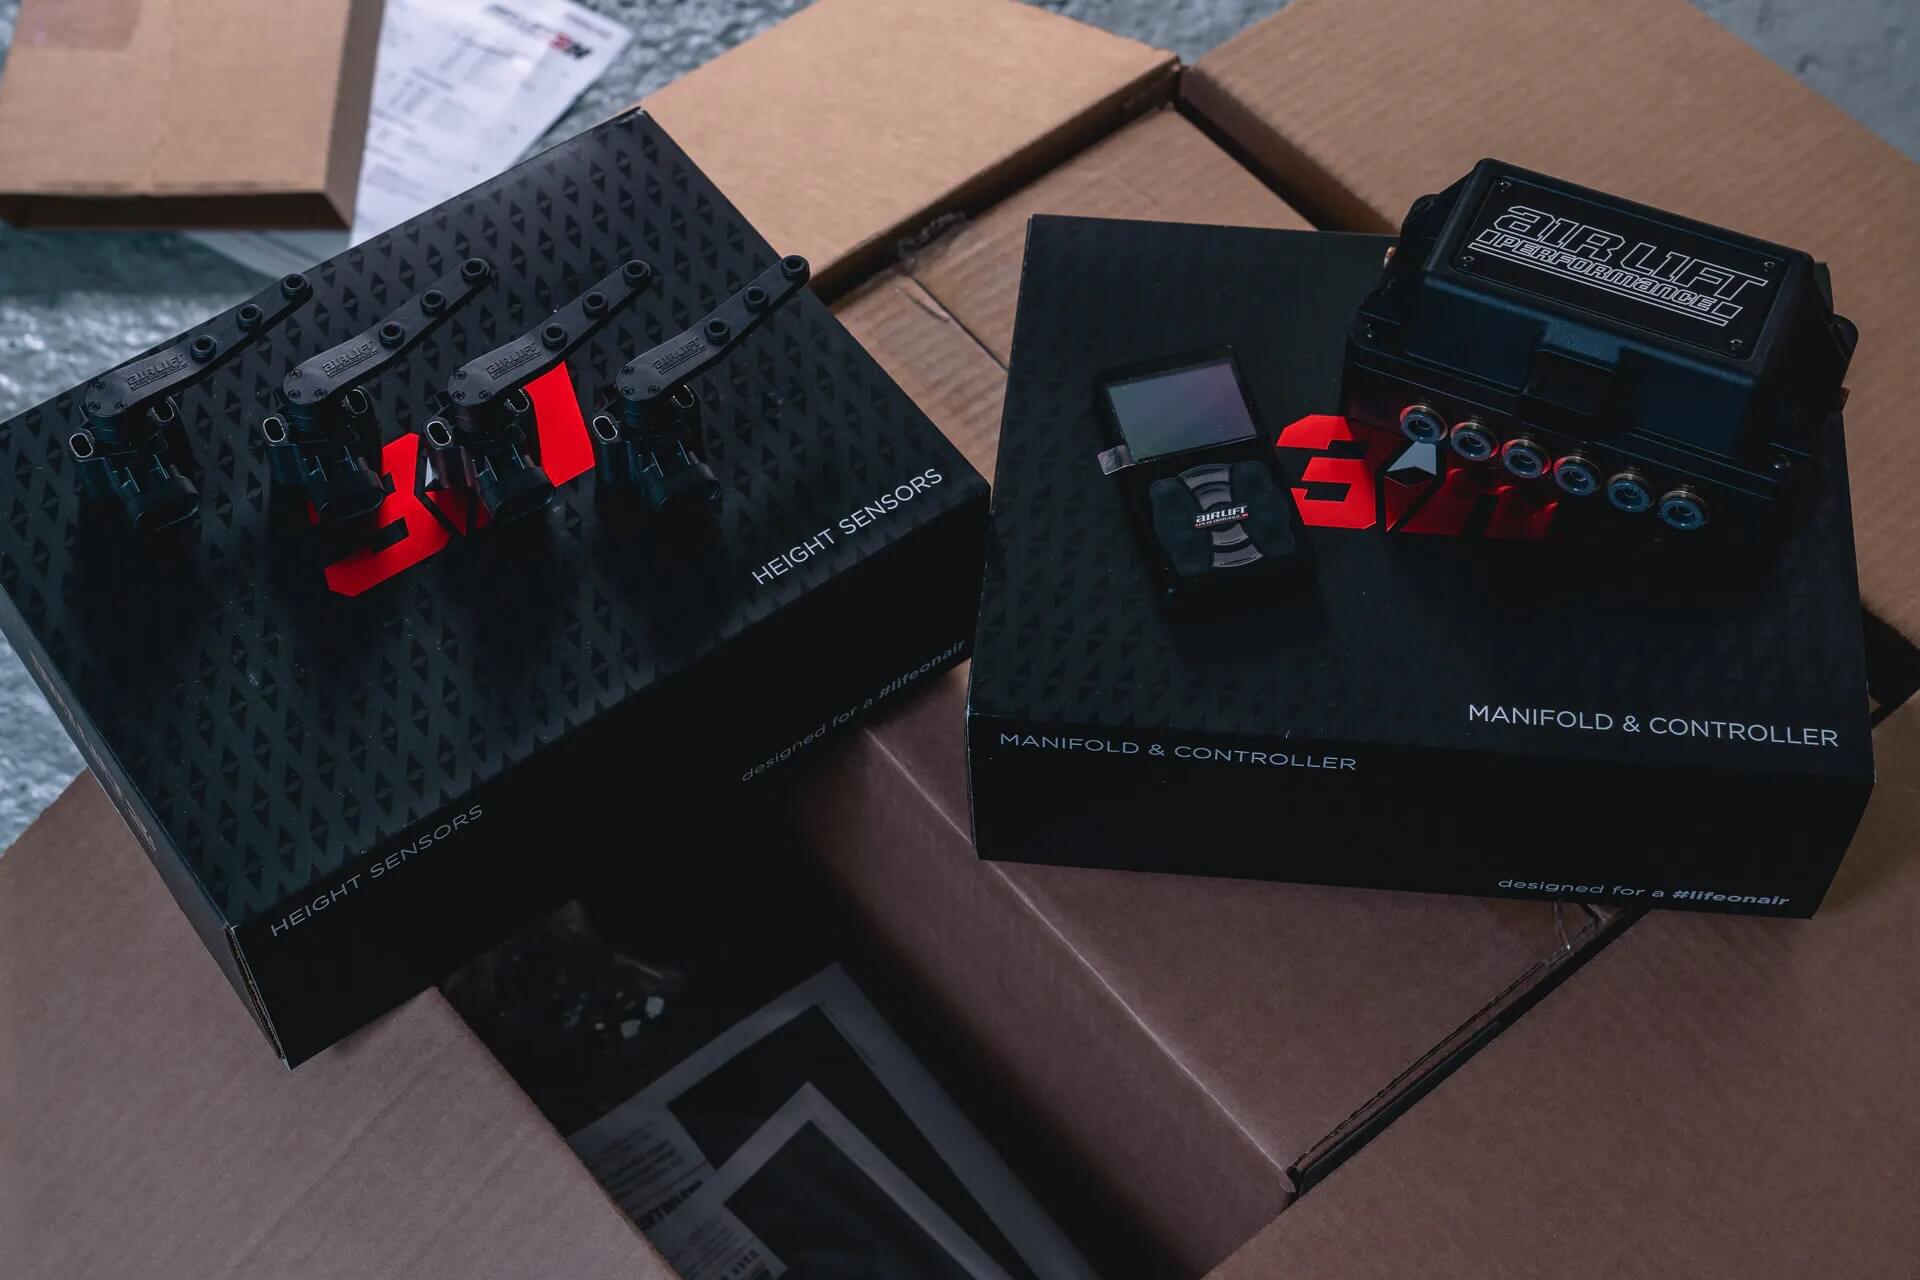
Wanting a quiet and powerful setup that could easily be stowed away below the E39’s boot floor, Ryan opted for dual 444C compressors with isolator kits and two 2 gallon tanks. The small tank sizes allowed Ryan with the best chance to position the tanks in order to squeeze all of the Air Lift components into the spare wheel well. The twin 444C compressors allow for a fast tank fill and quiet operation, especially when using an Air Lift Performance compressor isolator kit. Keeping with an understated Bavarian feel, Ryan went with an all-black finish.

This Alpina B10 came from the factory with a self-leveling rear suspension and Ryan wanted to be able to maintain that function. However, he also wanted to be able to slam the car at the touch of a button. With Air Lift Performance 3H, Ryan is able to fully load the car with people or equipment and let it self-level, maintaining a level ride height.

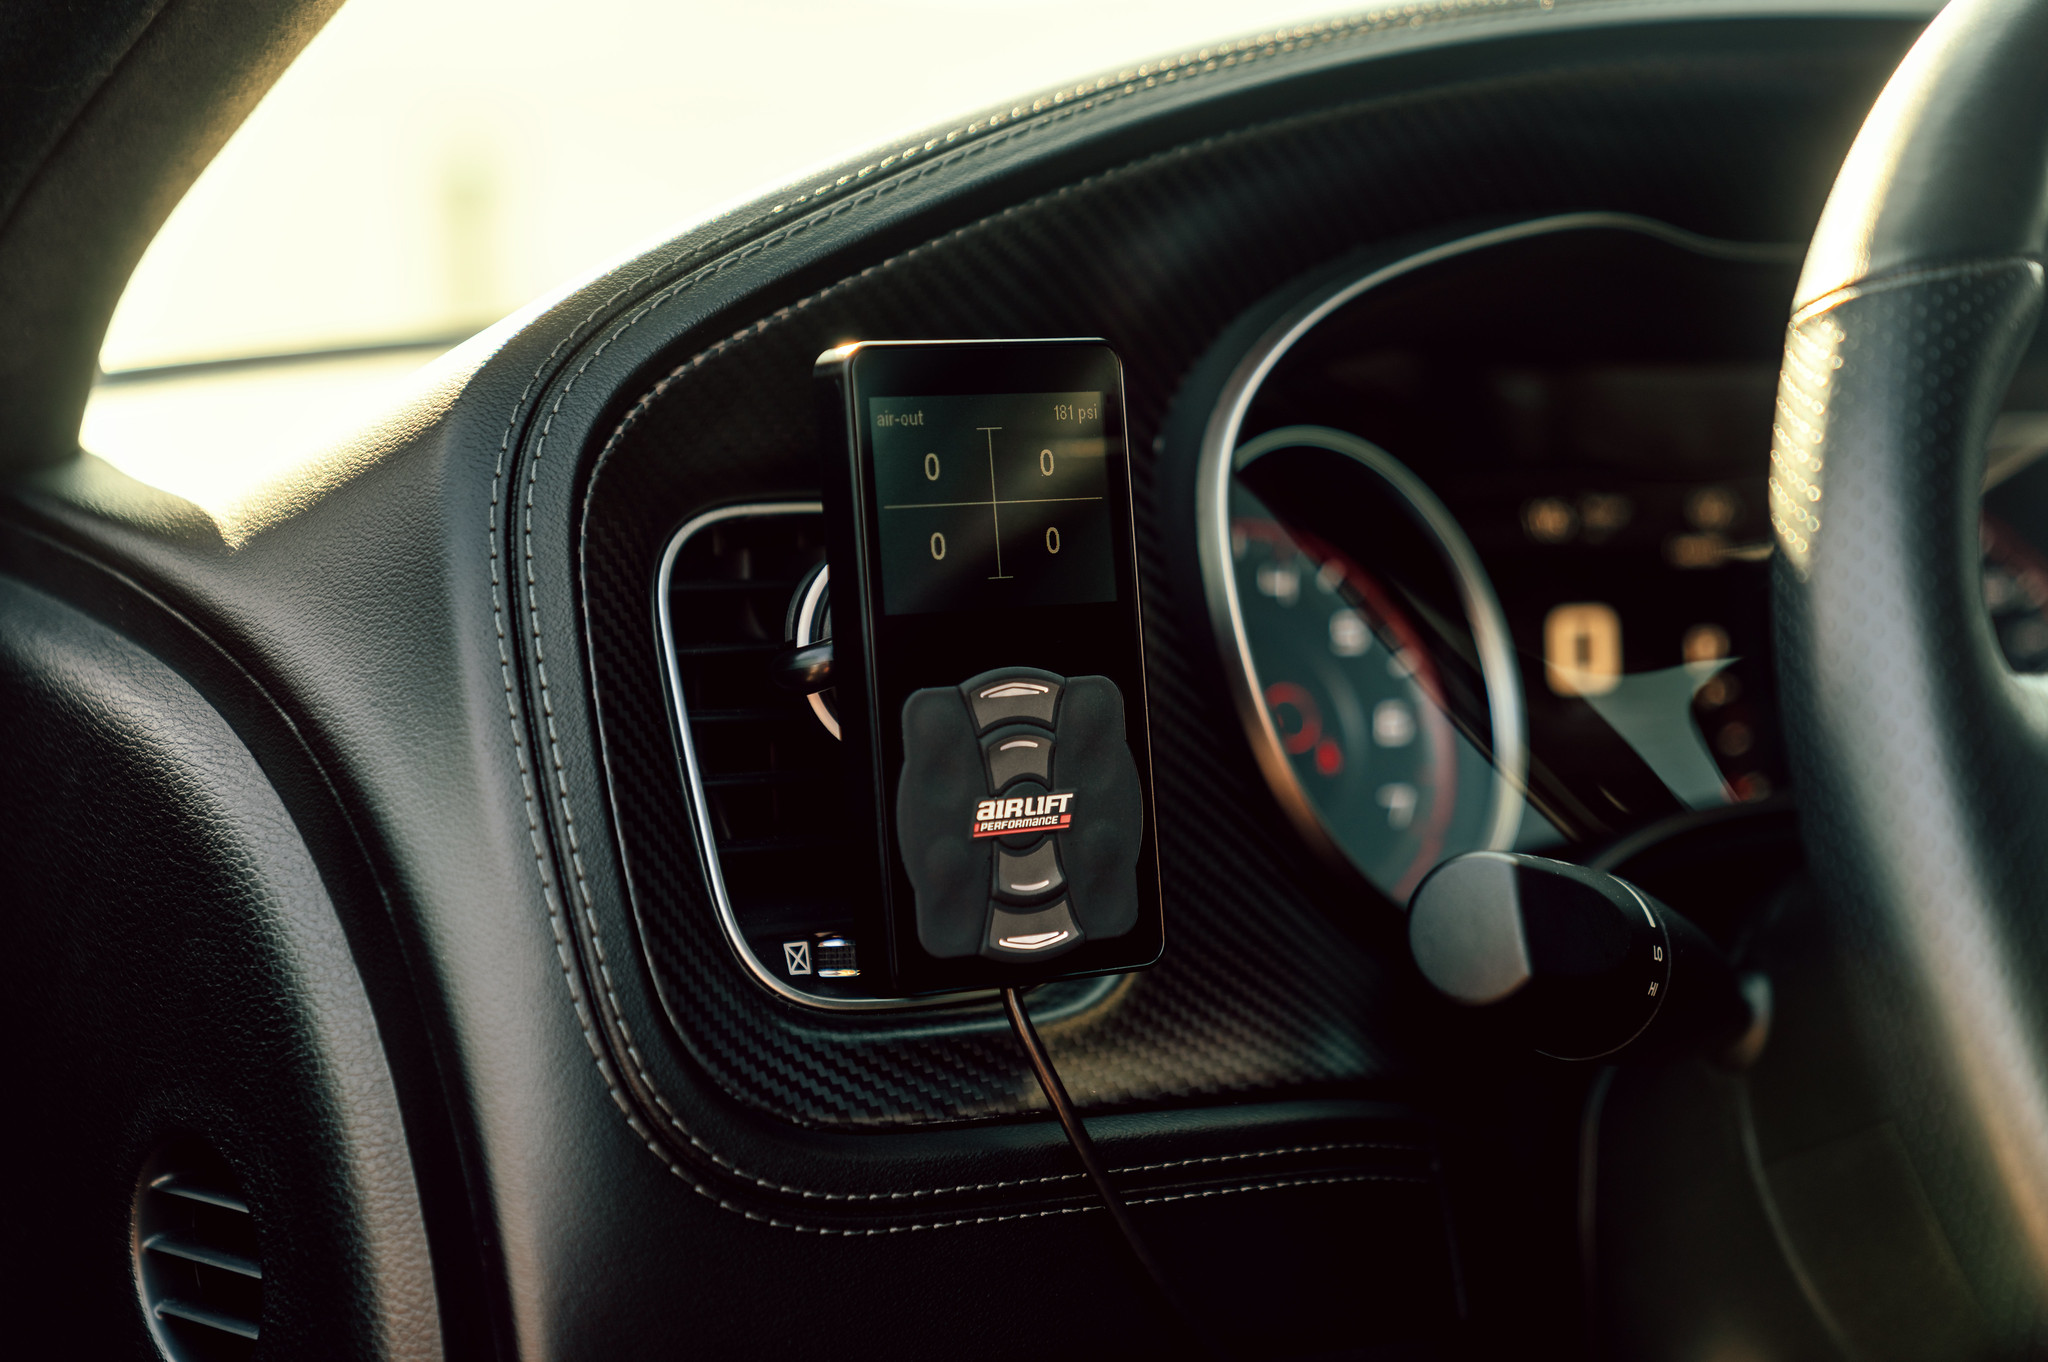
With both a controller and a mobile app with Bluetooth capability, the manifold allows for a huge range of mounting options. This feature is great for people who want to take full advantage of 3H technology without modifying the interior of the car. Ryan plans to stow the controller in the center console of this B10 while utilizing the 3H app to make on-the-fly adjustments as he chooses, perfect for switching from drive height to a slammed stance before a show. Since Alpinas come with a unique interior trim and wood grain, we can’t blame Ryan for wanting to keep things just as they were intended.

With everything removed from the car, Ryan started planning the install. Because of the factory self-leveling rear suspension the car had ample space to create a tidy spare wheel build. In the picture below, you can see the original BMW compressor and valve block ready to be removed from the car. Ryan adapted the original BMW rear air bags to work with Air Lift Performance’s 3H management system and used the factory sensor locations to mount the Air Lift Performance 3H sensors.

All of the Air Lift Performance products come with step-by-step instructions to guide you through the install so there is absolutely no guess-work required. By following these guidelines, Ryan was able to prepare the components for a hassle-free install.

During reassembly with the new Air Lift Performance components, Ryan could follow the torque specification chart to ensure a safe and long-lasting install, the first time around. The same instruction booklet shows the best practice for removal of the OE shock absorbers too, meaning you don’t need a fully equipped workshop in order to install the new system, just basic tools and a general understanding of safe working practices.

We will be checking back in with Ryan in order to detail the finer points of his install. The project has already progressed and we hear he’s already laying frame and enjoying the driving characteristics of this Air Lift Performance install. Stay tuned!
More Recent Articles
Get The Latest from Air Lift Performance
Want first access to big sale events, performance suspension news, and exclusive drops that sell out quickly?
