TECH: Routing Your Air Lines
5/28/2014
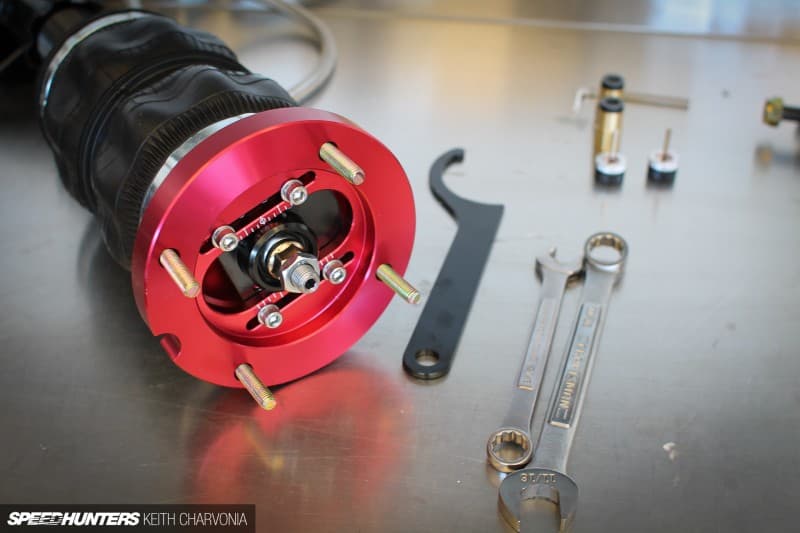
Installing an Air Lift vehicle specific air ride kit to your vehicle is a ‘bolt on’ procedure. We always aim to make the job as simple as possible by using the factory pick up points and by supplying direct fit stut-assemblies. One thing we are often asked by installers however, is how best to route the air lines. A great example of how to do so is when SPEEDHUNTERS covered the ‘Double Down’ Mustang Air Lift install, click HERE to read the full article.
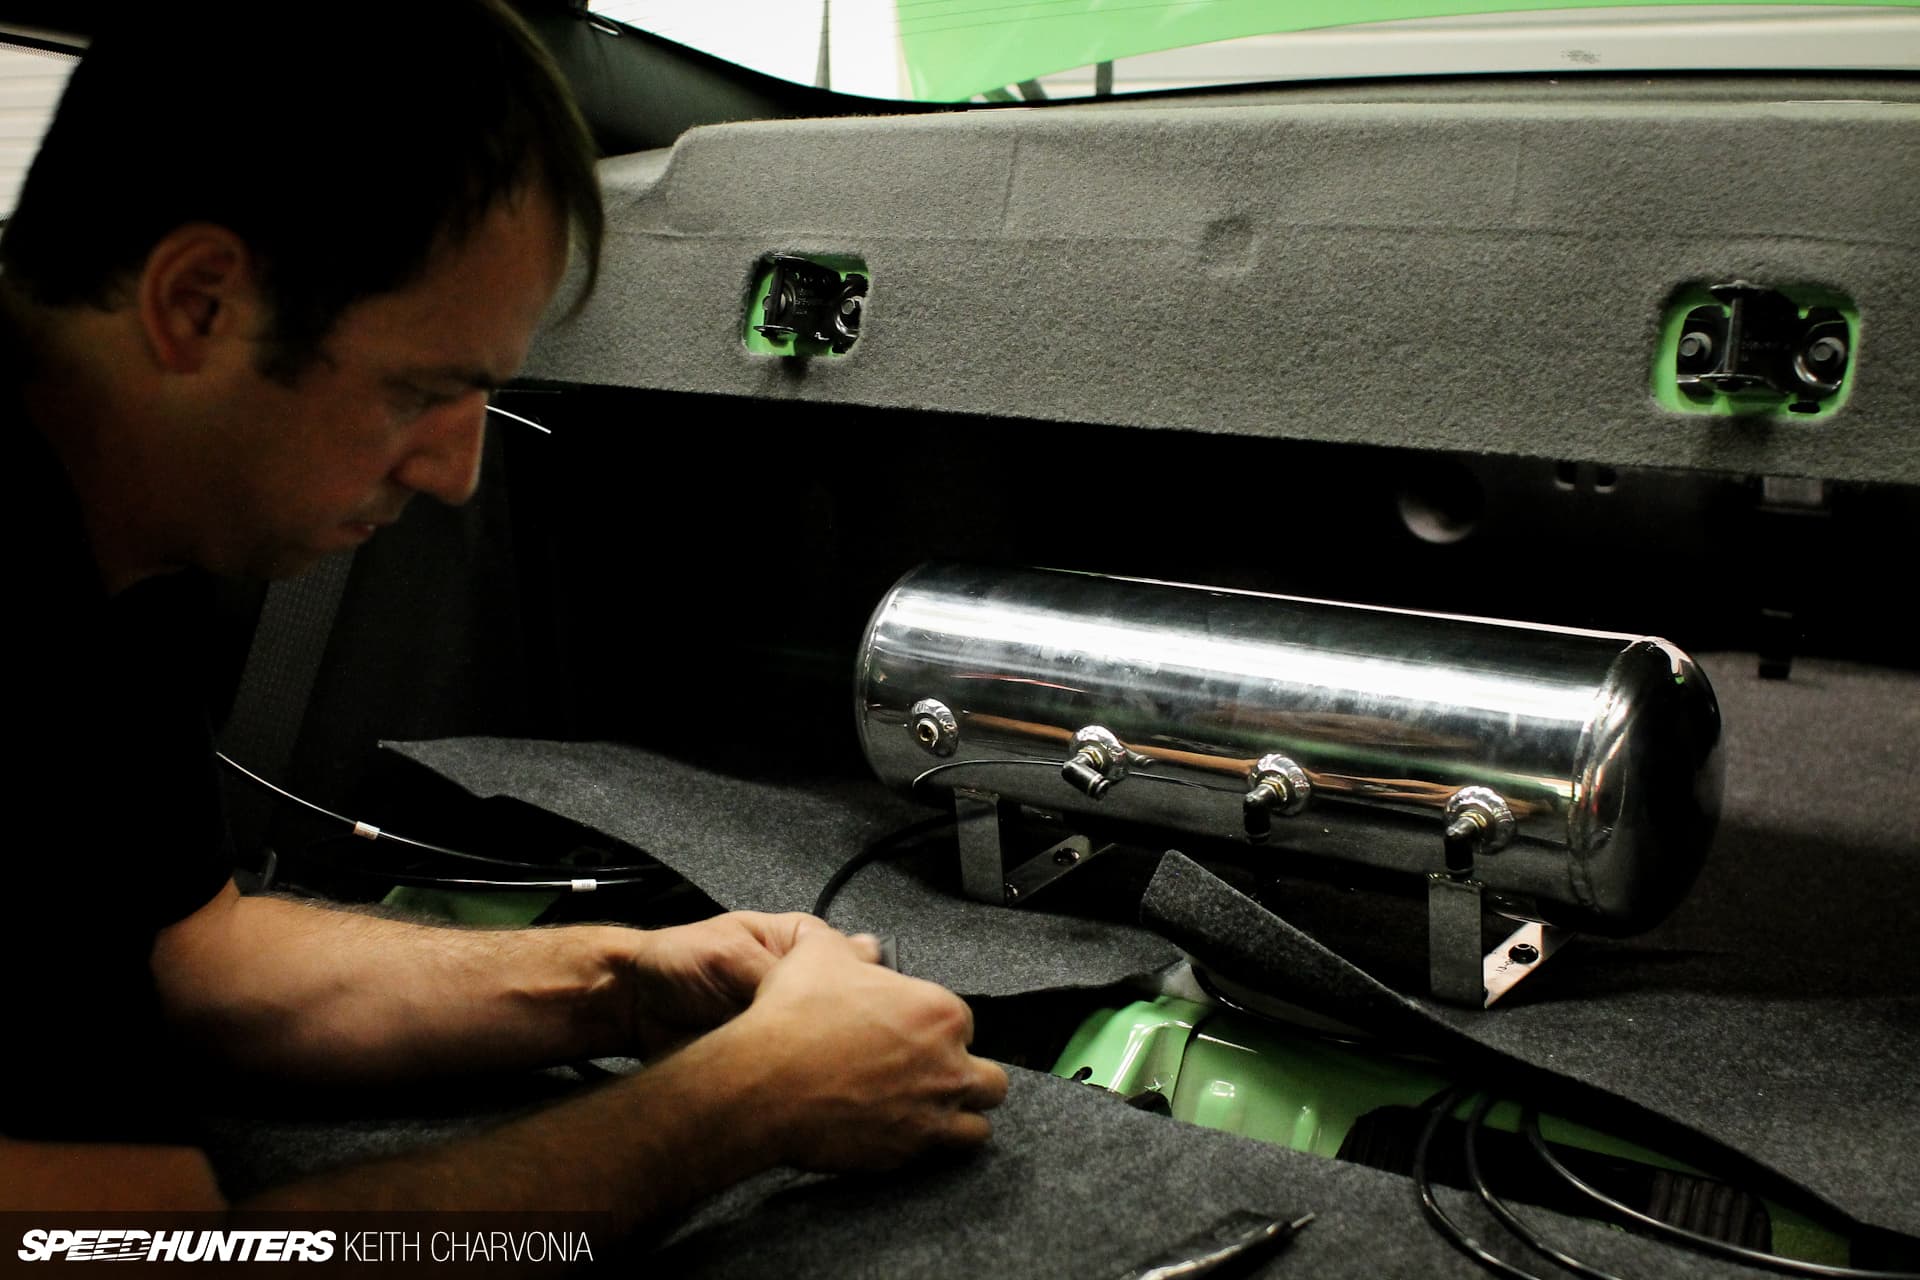
To give you an idea of the potential pitfalls you might encounter when running your lines we have put together some helpful pointers for you to follow;
Number one concern when routing lines sounds obvious but its really important. Always keep lines away from heat sources any heating of the lines can compromise their burst strength. For the same reason you should protect lines from sharp edges using grommets as lines pass through bodywork and avoid kinking lines when routing them.
Avoid tight bends especially when routing through bulkheads. Too tight a radius will kink the line, the larger the hose diameter, the larger the radius that must be used. Very gentle heating with a hairdryer can be used to soften lines to make a bend without kinking but always exercise caution when doing so and remember any deformation of the line will reduce strength.
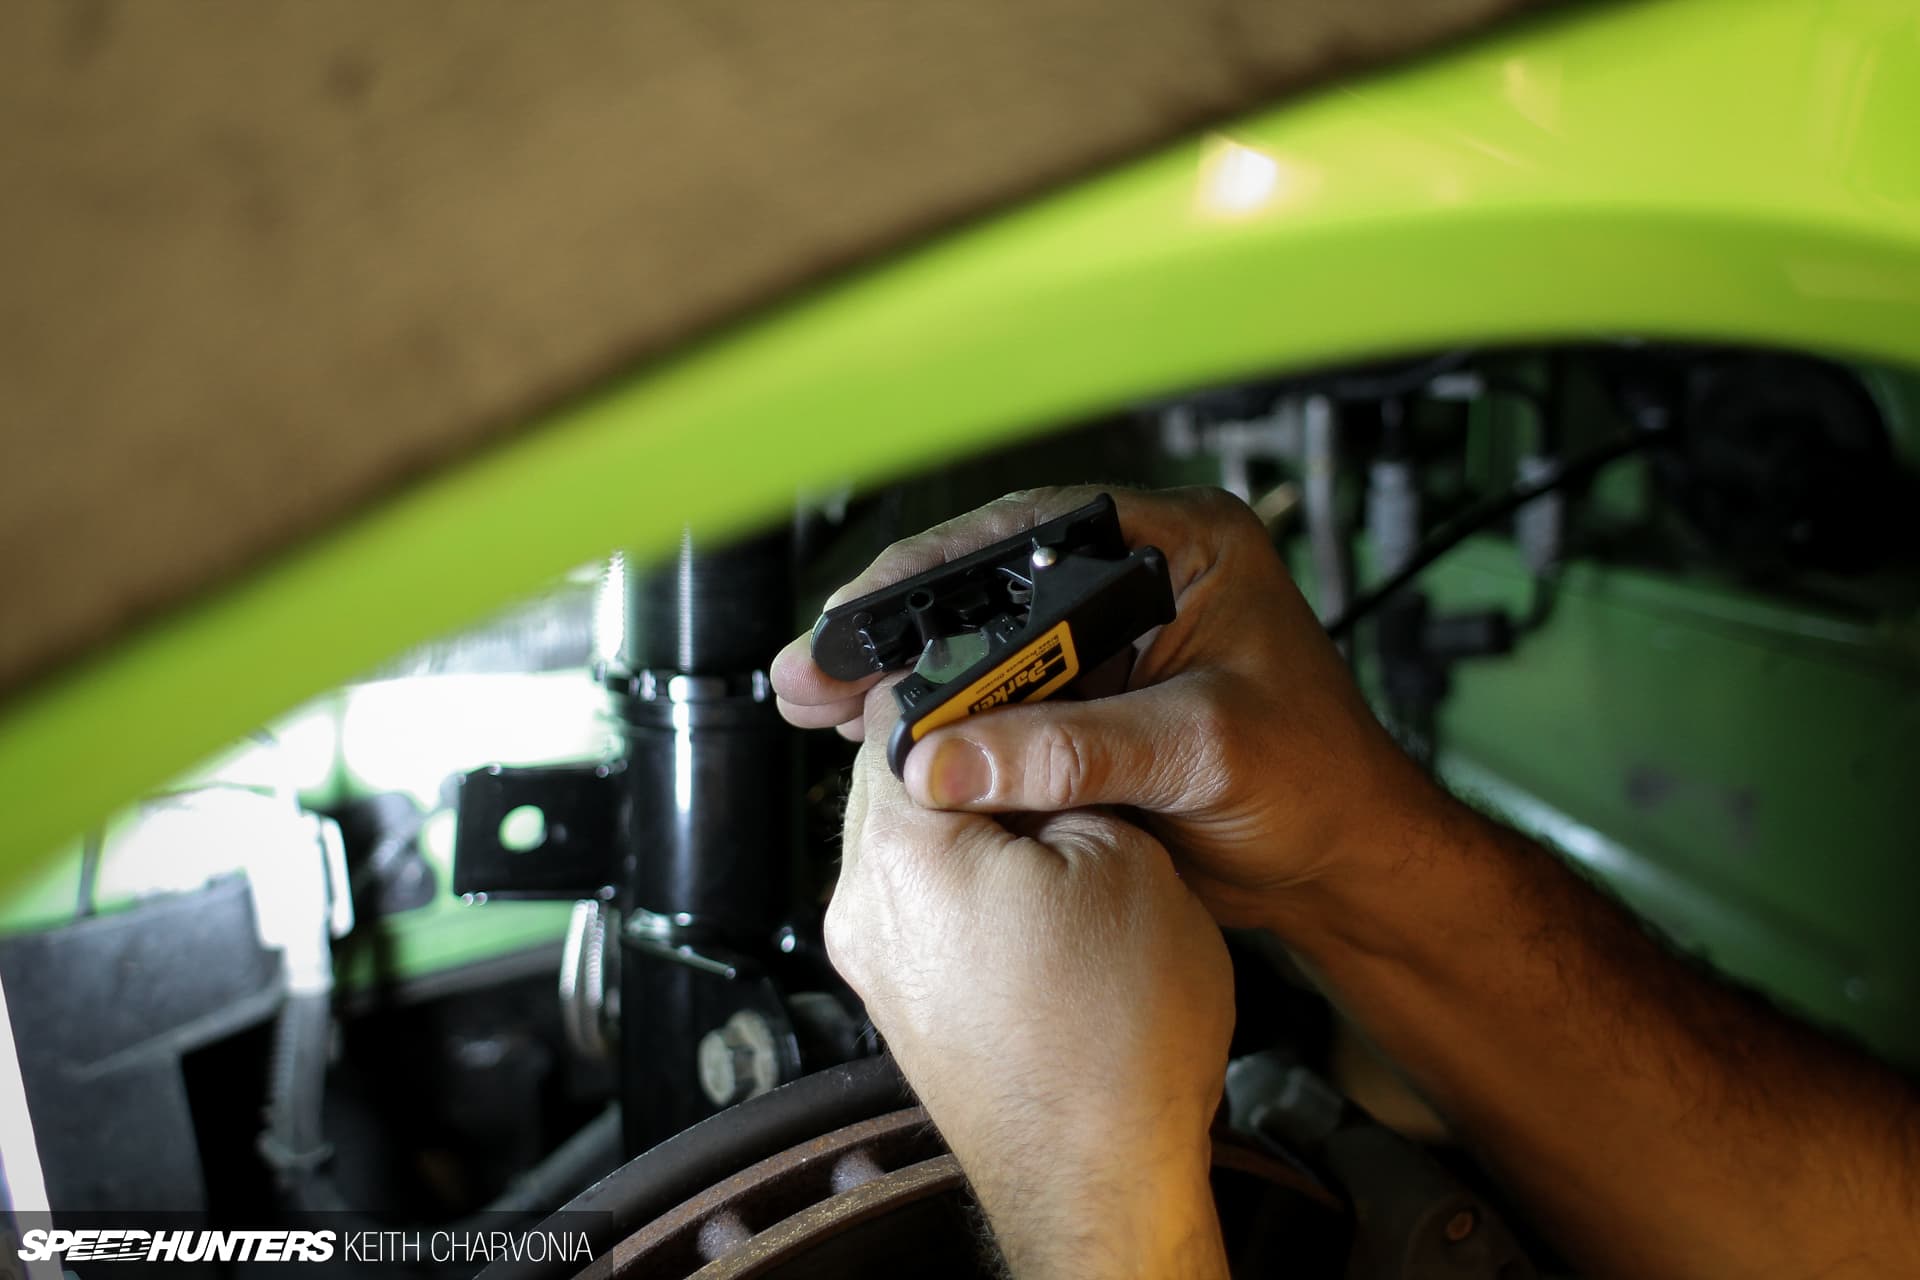
Cut air lines with a hose cutter or utility knife. Air line must be square cut for proper sealing in push fittings. Never use side cutters or pinch the line when cutting and consider leaving additional length on the line to allow for re-cutting if needed.
It is often a good idea to run front lines through the car instead of underneath for ultimate protection on track or off road use. If running lines underneath the vehicle, consider running them alongside existing lines like the brake lines and secure them to these fixings. Keeping lines hidden above under body plastic to add protection from road debris.
You should never make the air line the lowest point on the body. Keep it tight to the floor and do not create loose sections which can snag and get caught.
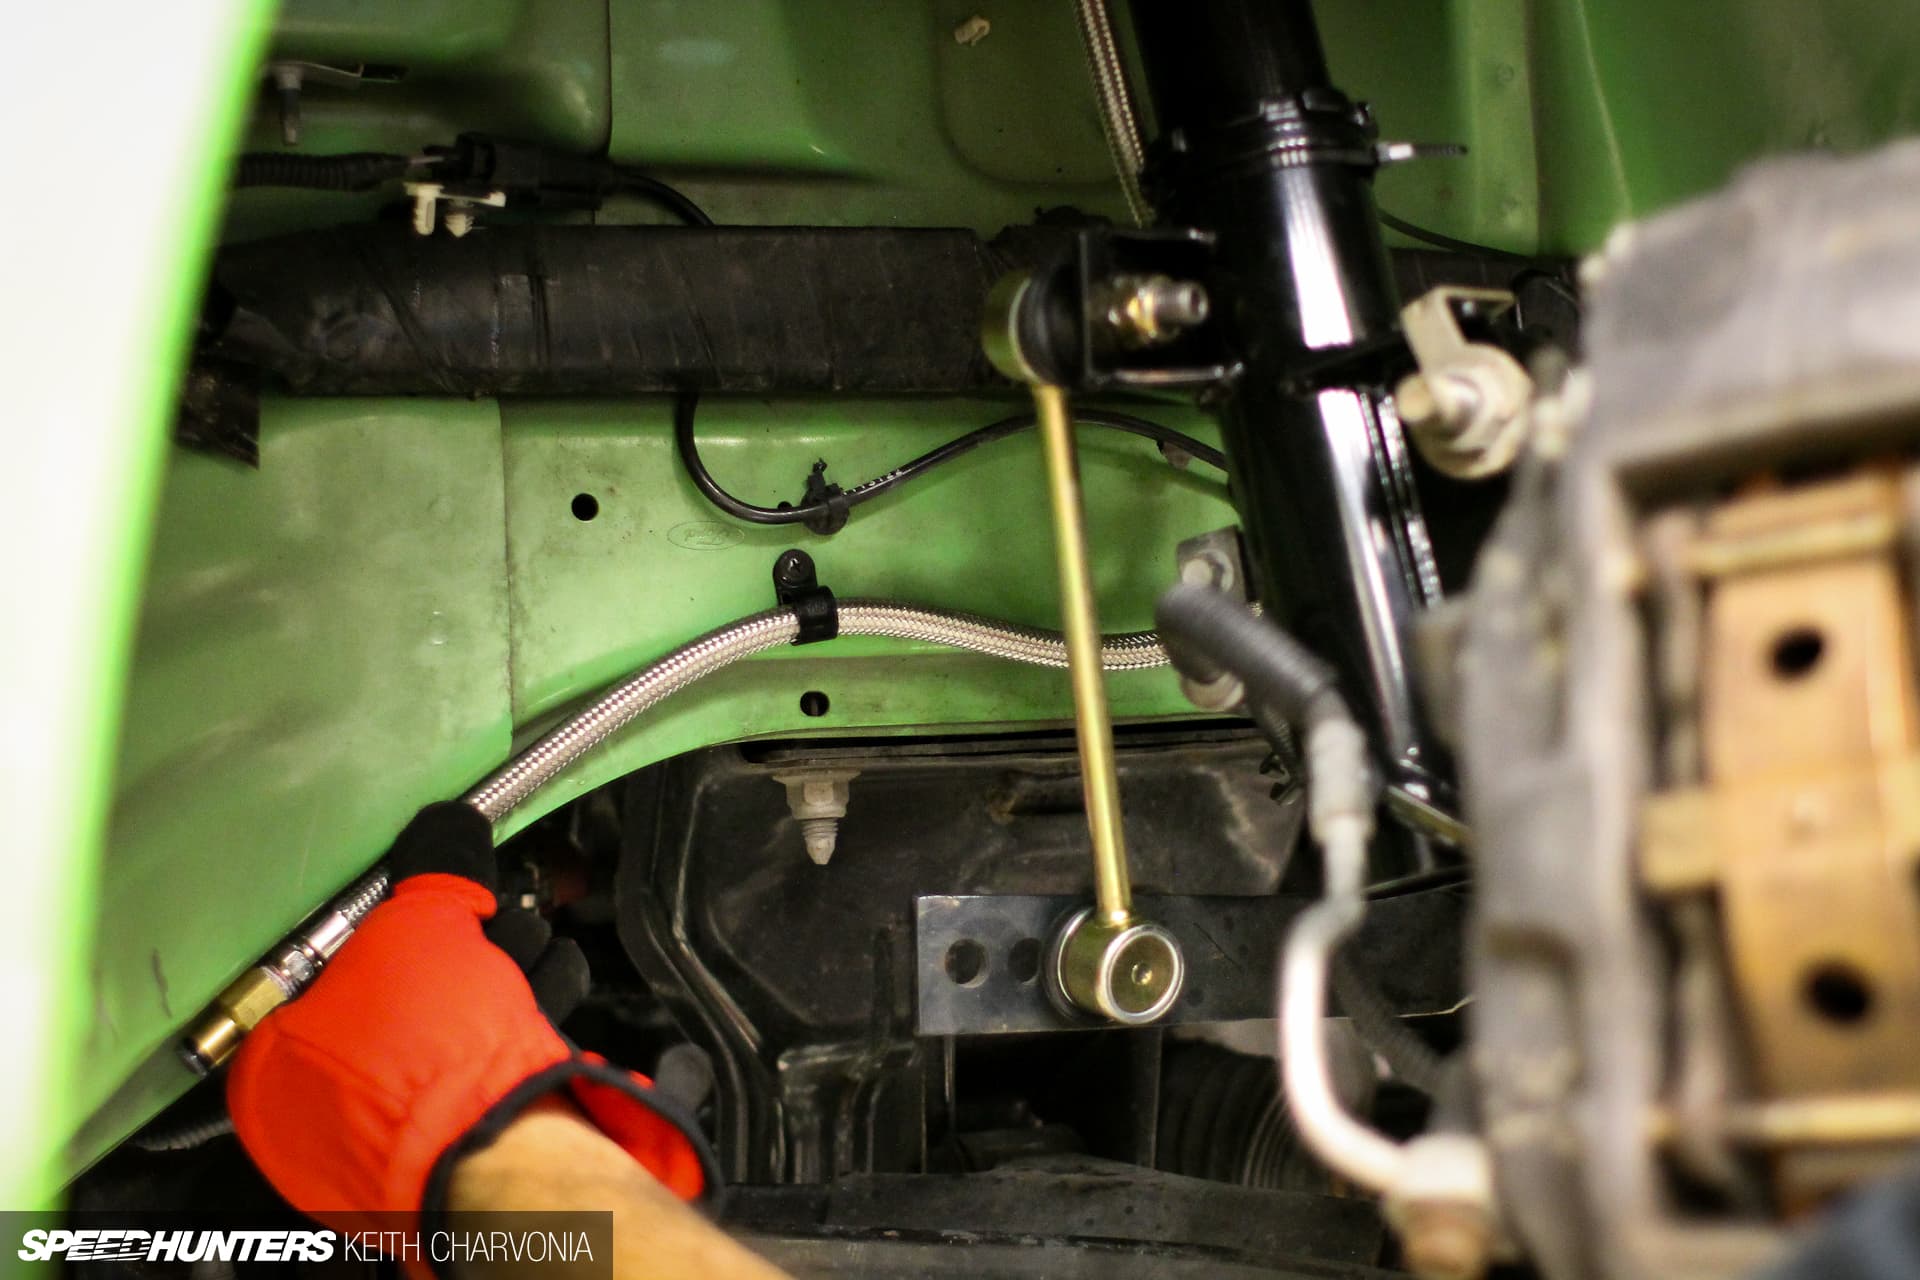
Leader lines should form a U-shape off of struts, and follow path of rubber brake hoses for best practice. They should be anchored to the body near the fitting and allow full suspension articulation. The Speedhunters article of the Double Down install has some great examples of how to do this. This is an area where people can slip up and you must ensure that the suspension is free to move in all permissible directions without pulling or pinching the leader line.
Try and keep lengths of air lines as close as possible to each other to an axle. More than say 3 feet of difference per side can cause issues with management systems and other controllers in accuracy.
Be careful not to let the air line drag around on abrasive floor surface during install. It is possible to have scratches which have been put in the line that can not be seen right away when inspected and later cause leaks when put under air pressure. You should always keep your air lines clean and free from abrasion when storing prior to install.
If you suspect a leak, the best way to locate the source is to use soapy water and look for bubbles. Check connections at each end of line and ensure an air tight seal first. A good mix for air leak detector is: 1 part dish soap 4 parts water.
Keep these points in mind when installing your lines for a straight forward, clean install – straight out of the box.
We will be covering other tech subjects soon on the blog, so check back for more hints and tips from our expert installers!
More Recent Articles
Get The Latest from Air Lift Performance
Want first access to big sale events, performance suspension news, and exclusive drops that sell out quickly?

